Guide 4 of 8
Configure tables and QR codes
Associate each service area with a QR code in order to open the correct restaurant and identify the table linked to the order.
The screenshots show the French interface; the layout and features are the same in every language.
Documentation navigation
Chapter 1
Create the counter and dining tables
A table has an identifier visible to the team and an indicative capacity. The counter can be managed as a dedicated table.
Step 1
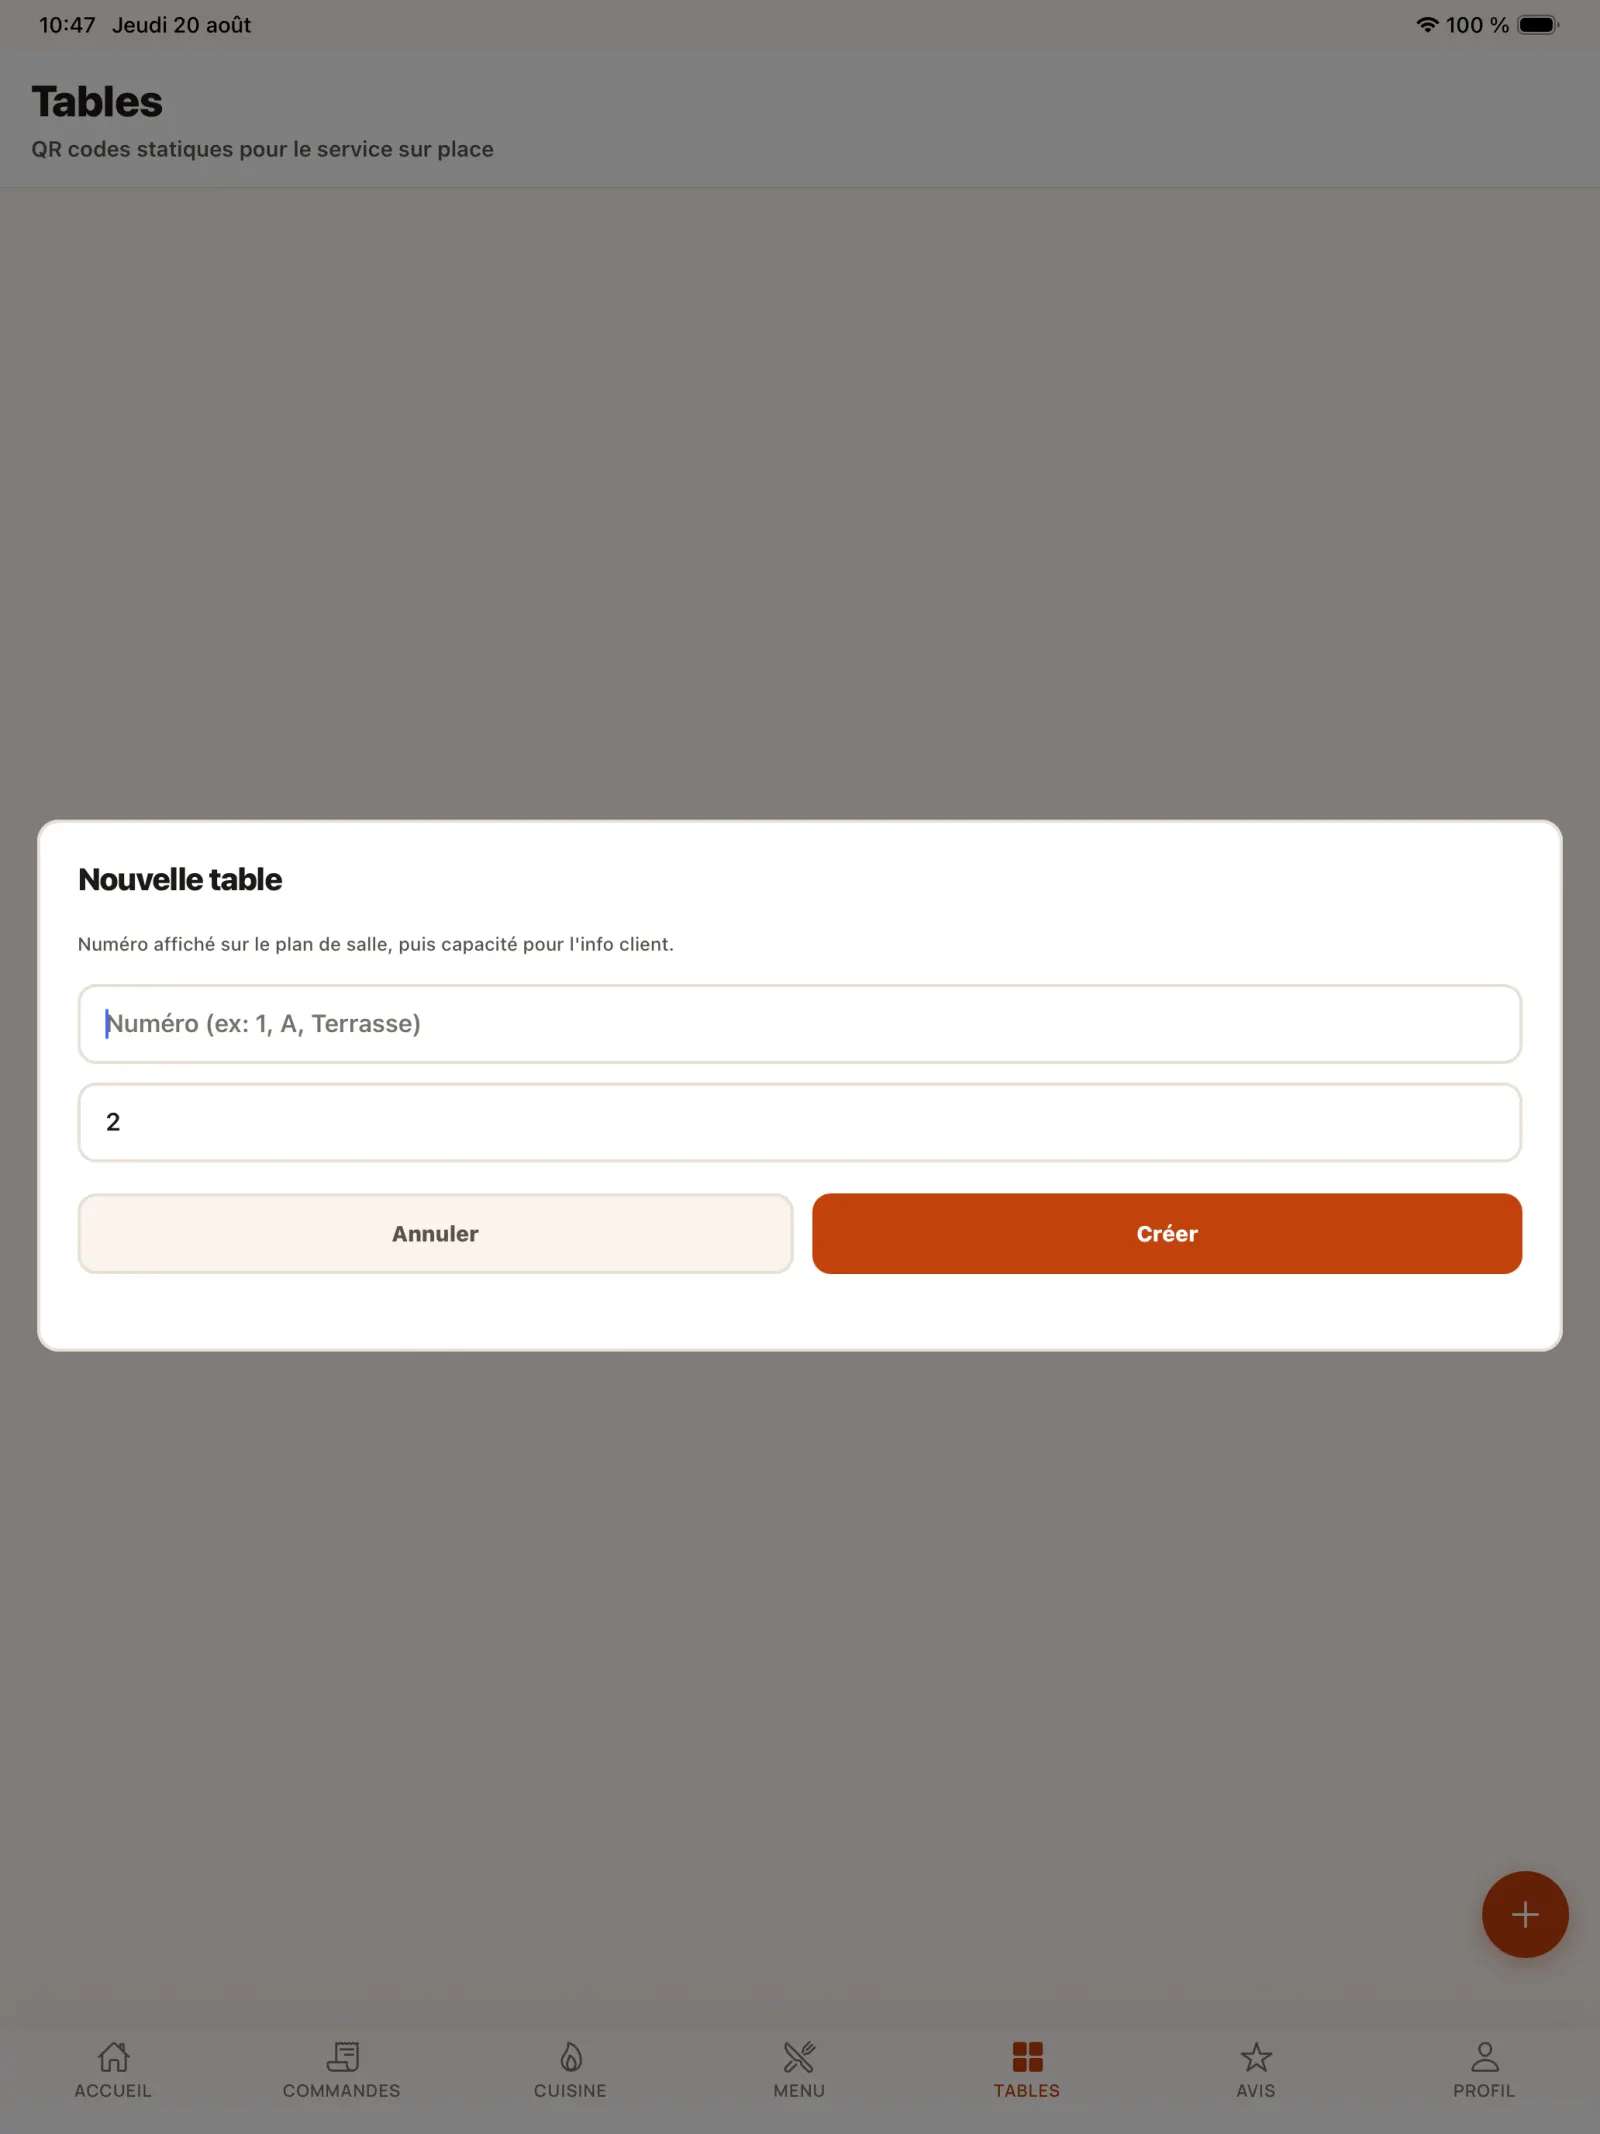
Create a first table
In the “Tables” tab, enter a name or number, then indicate its capacity before validating.
Open full-size image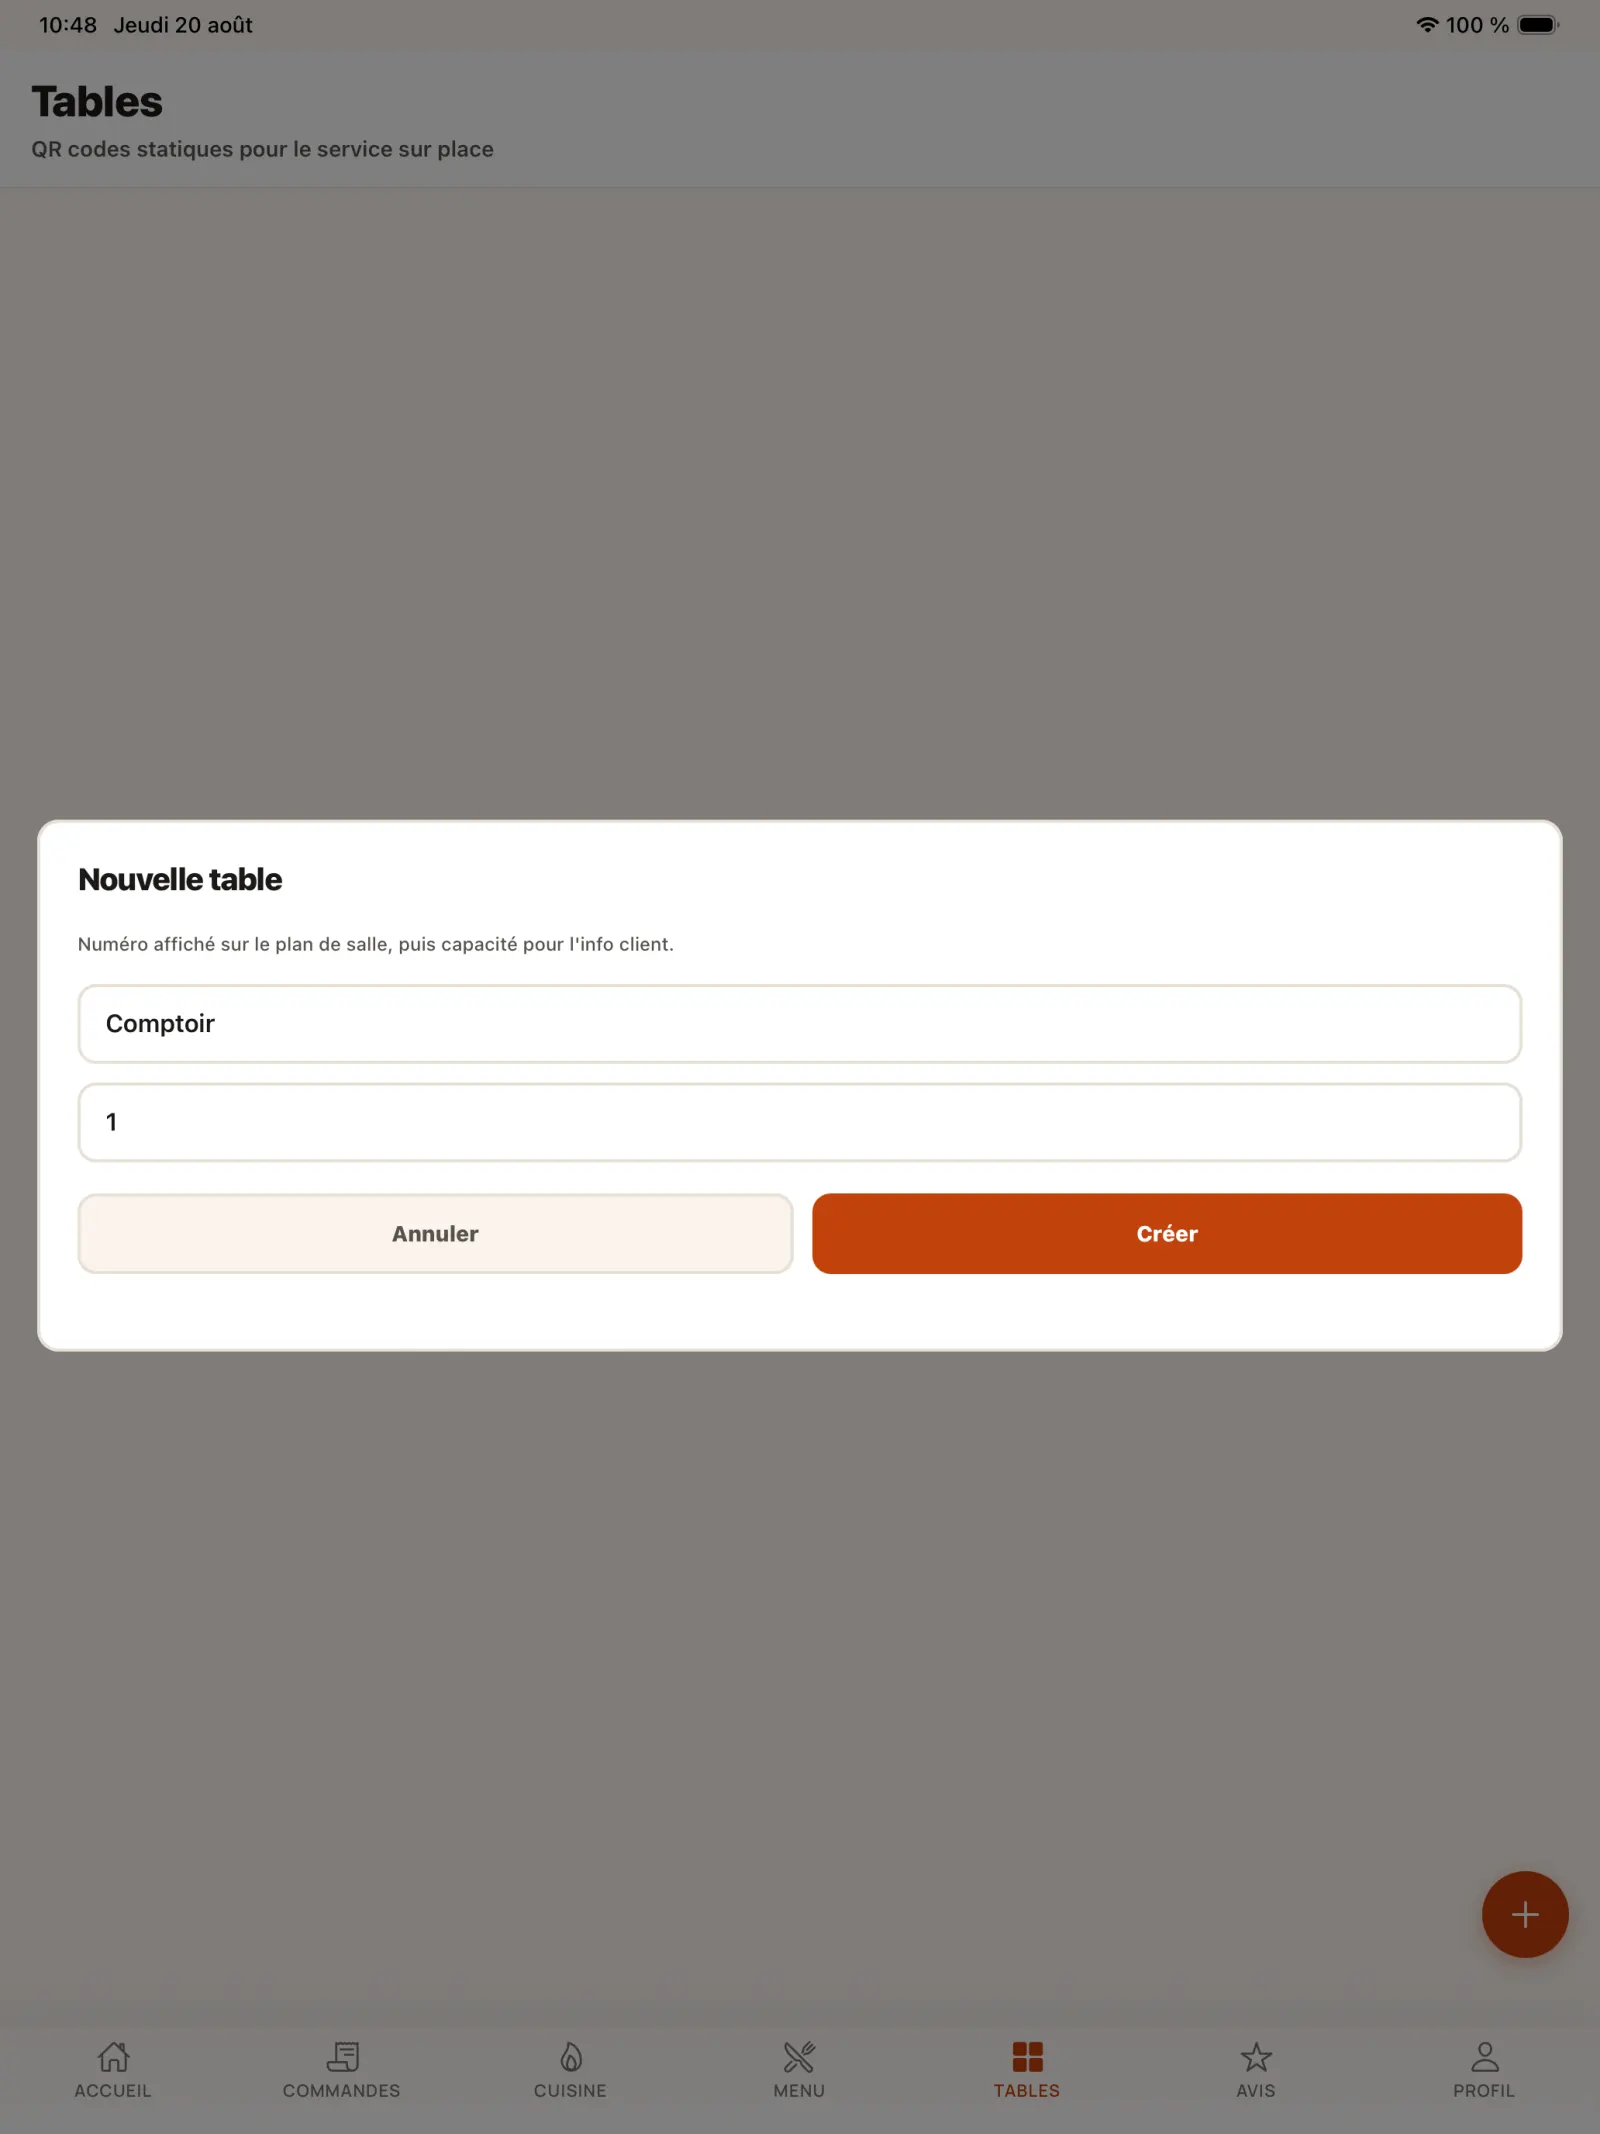
Step 2
Create a counter service point
Add a table named “Counter” to identify orders taken or picked up at this location.
Open full-size image
Chapter 2
customise and export a QR code
Each table has a unique QR code. Its regeneration invalidates the previous version, which must remain a voluntary action.
Step 3
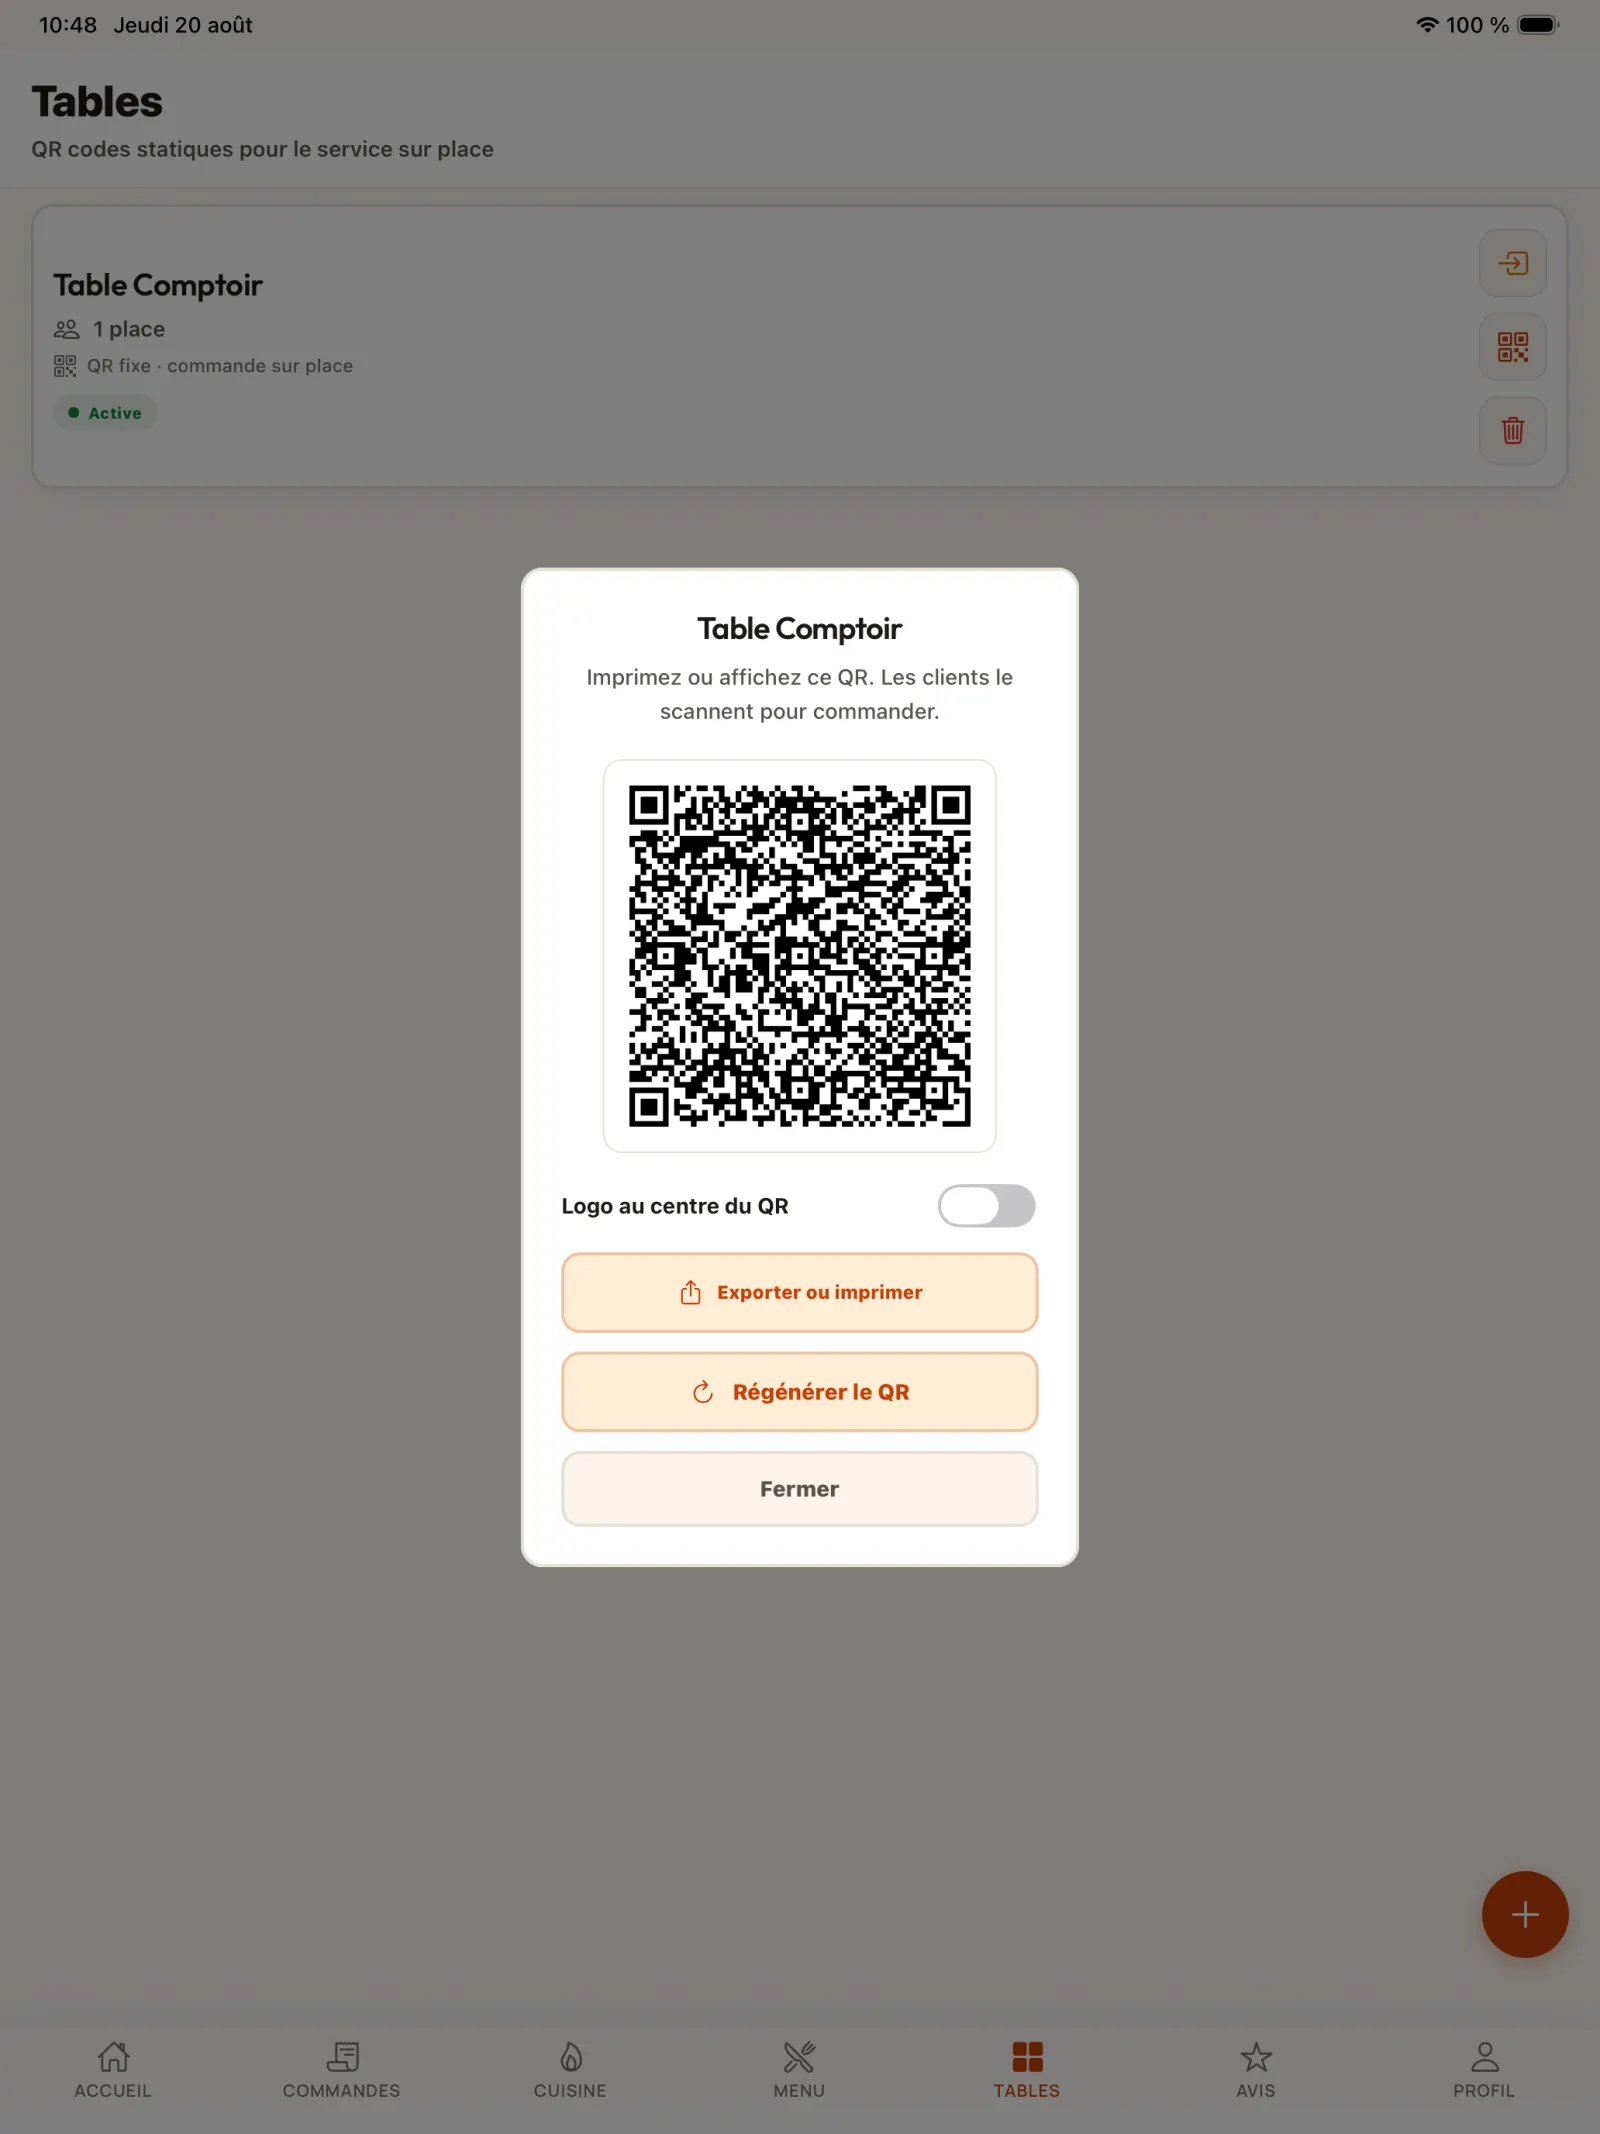
Open the QR code of the table
Select “QR Code” to the right of the table. You can integrate the restaurant logo in the centre before exporting.
In practice. The KoulChi team can support you with printing. If you regenerate a QR code, the old one immediately becomes invalid: reserve this action for voluntary replacement of a medium.
Open full-size image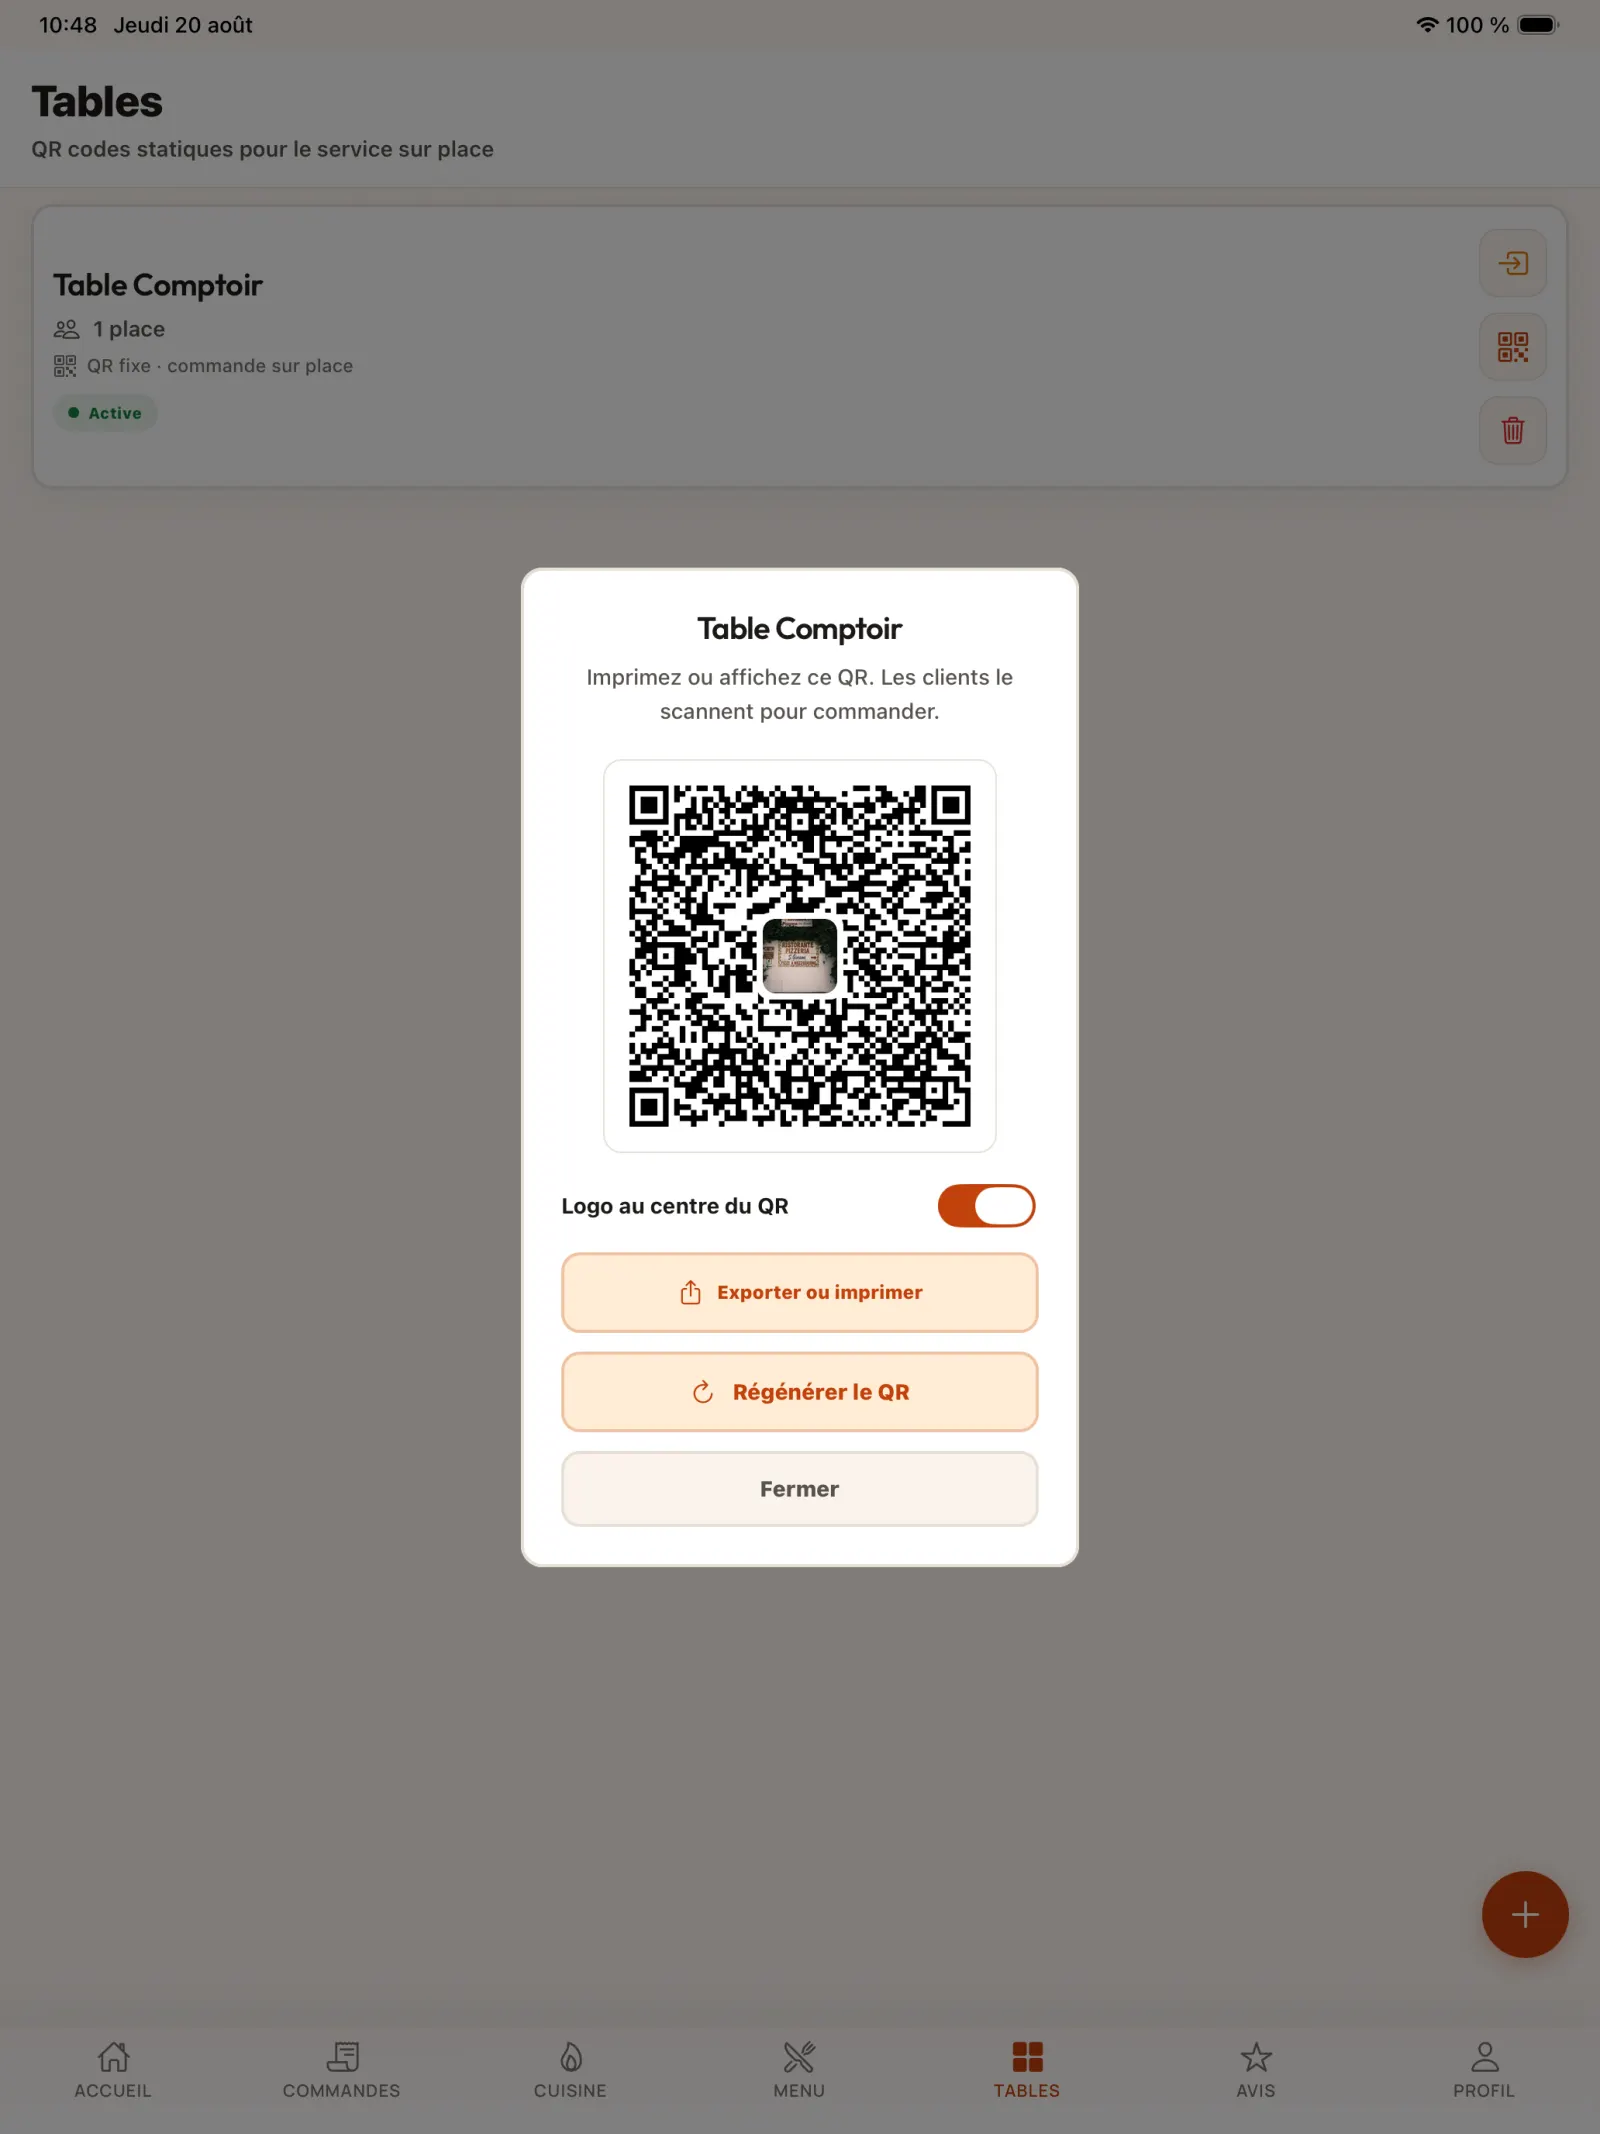
Step 4
Preview the personalised QR code
Check the readability of the QR code after adding the restaurant logo.
Open full-size image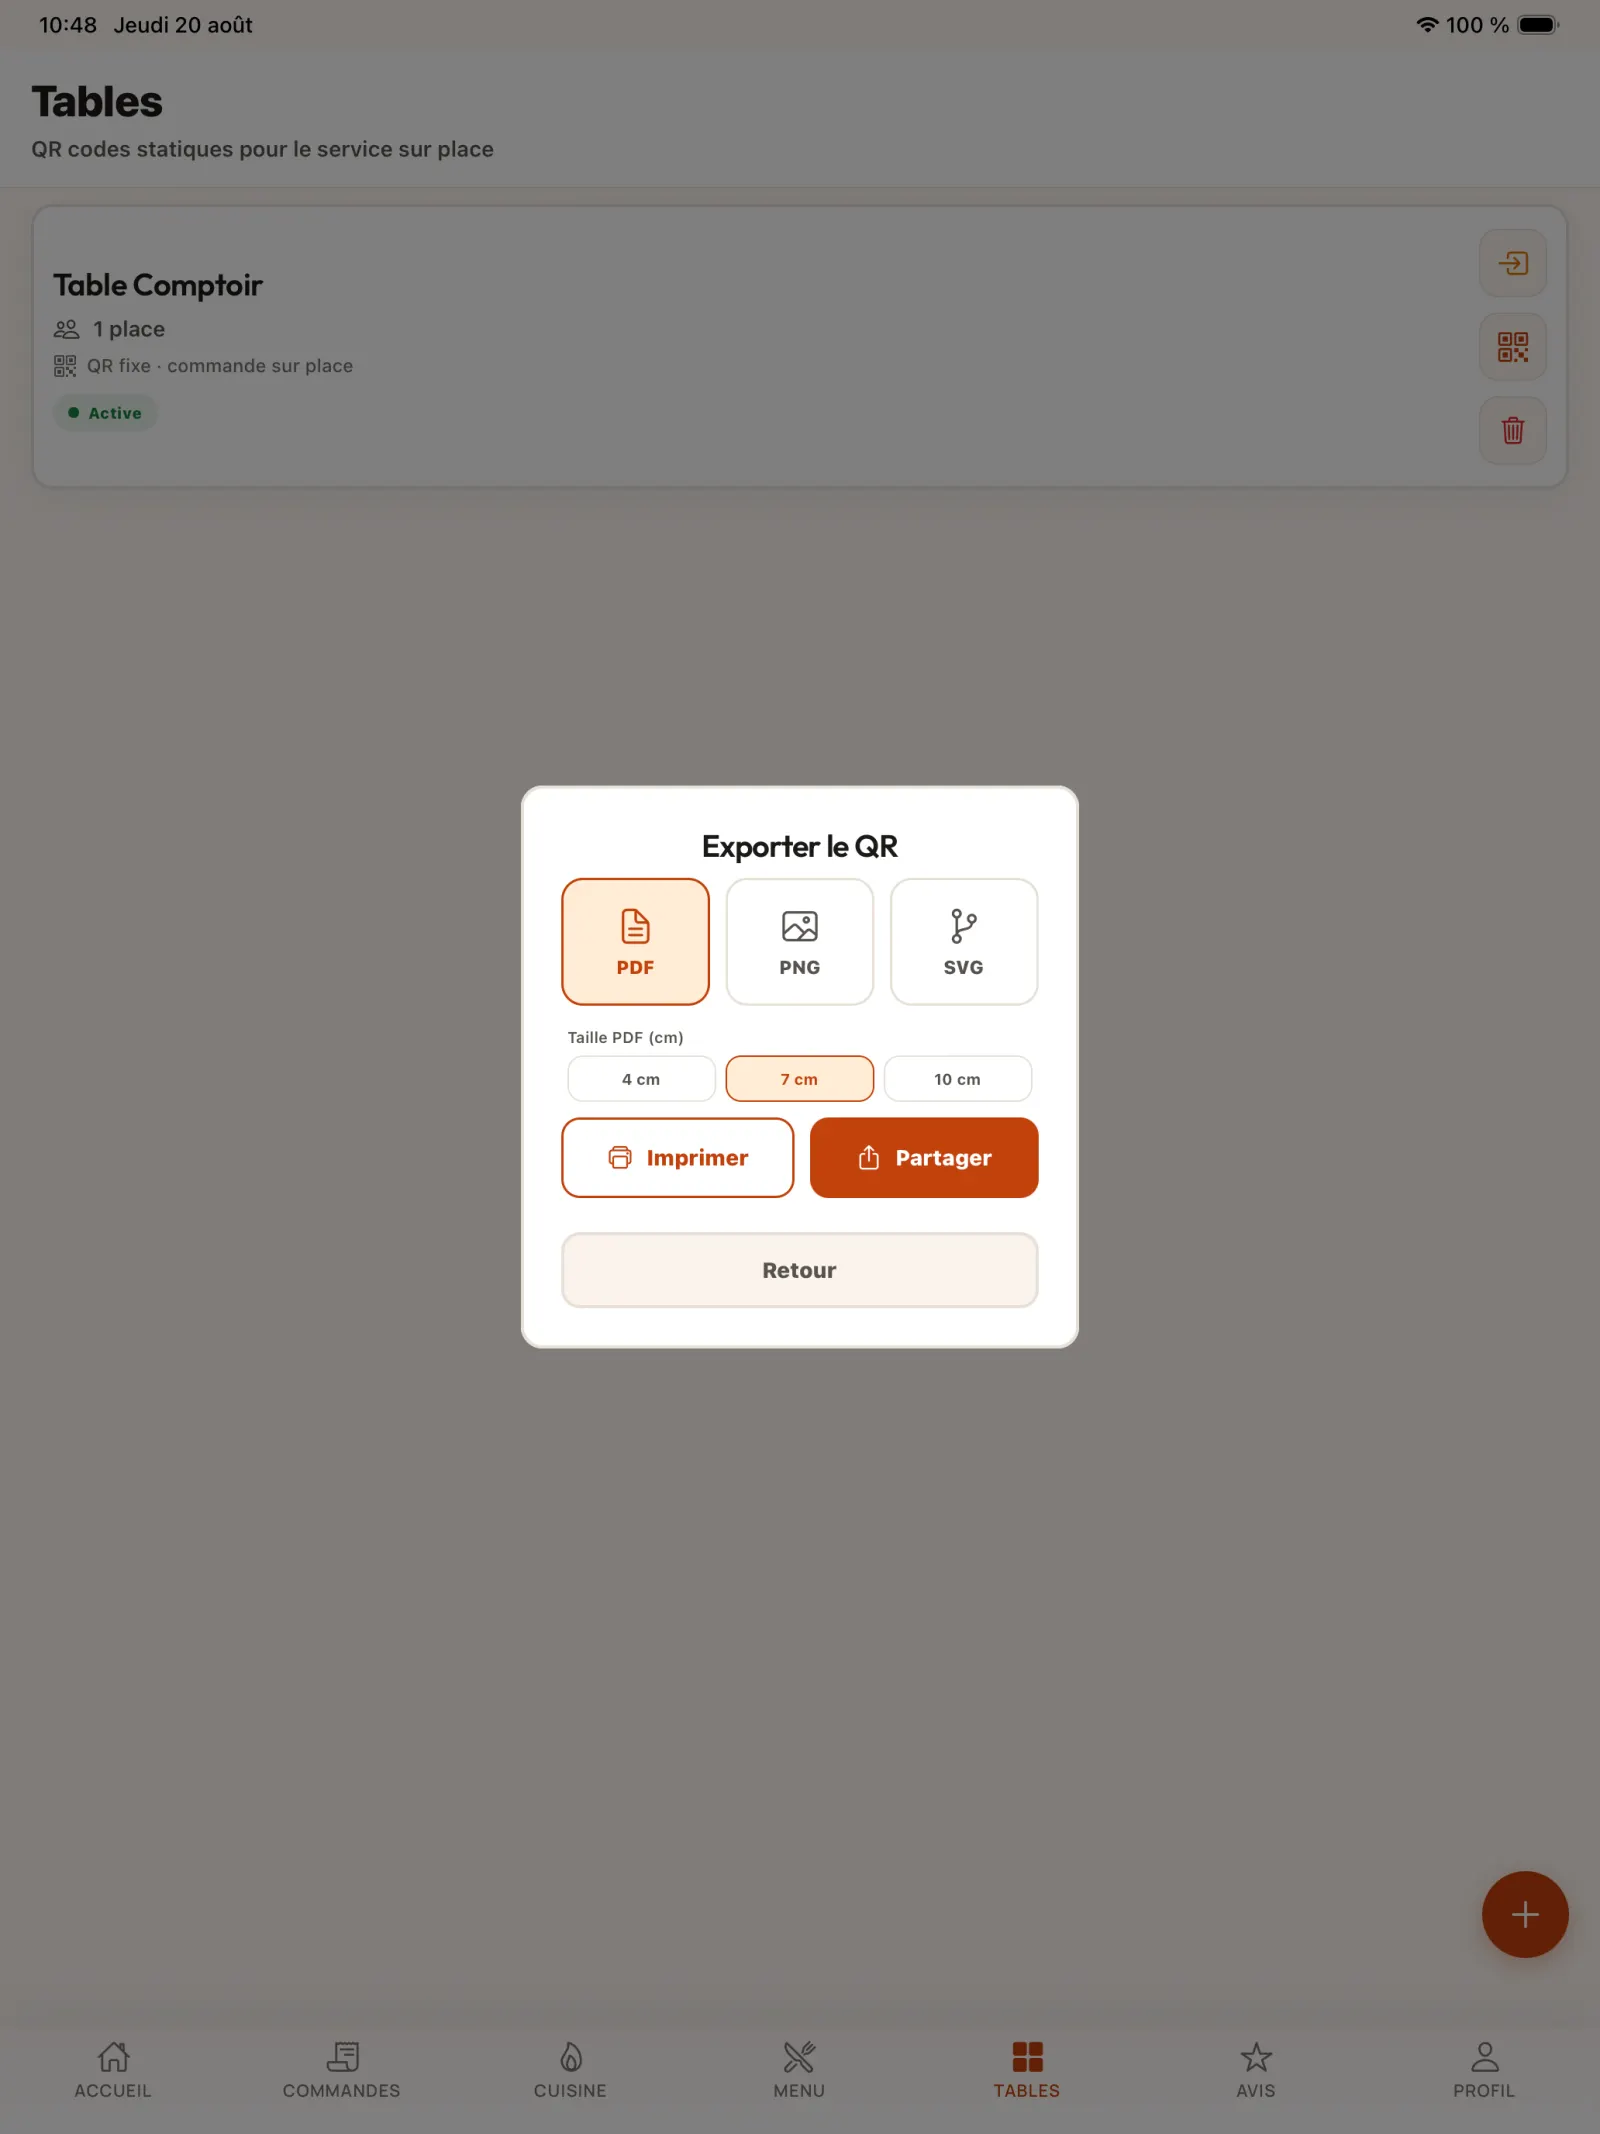
Step 5
Choose an export format
Use “Export or print” then select the appropriate format: PDF for simple printing, PNG for an image or SVG for professional printing.
In practice. PDF is suitable for simple printing on a sheet, PNG for digital use and SVG for a professional printer, because it remains sharp whatever the final size.
Open full-size image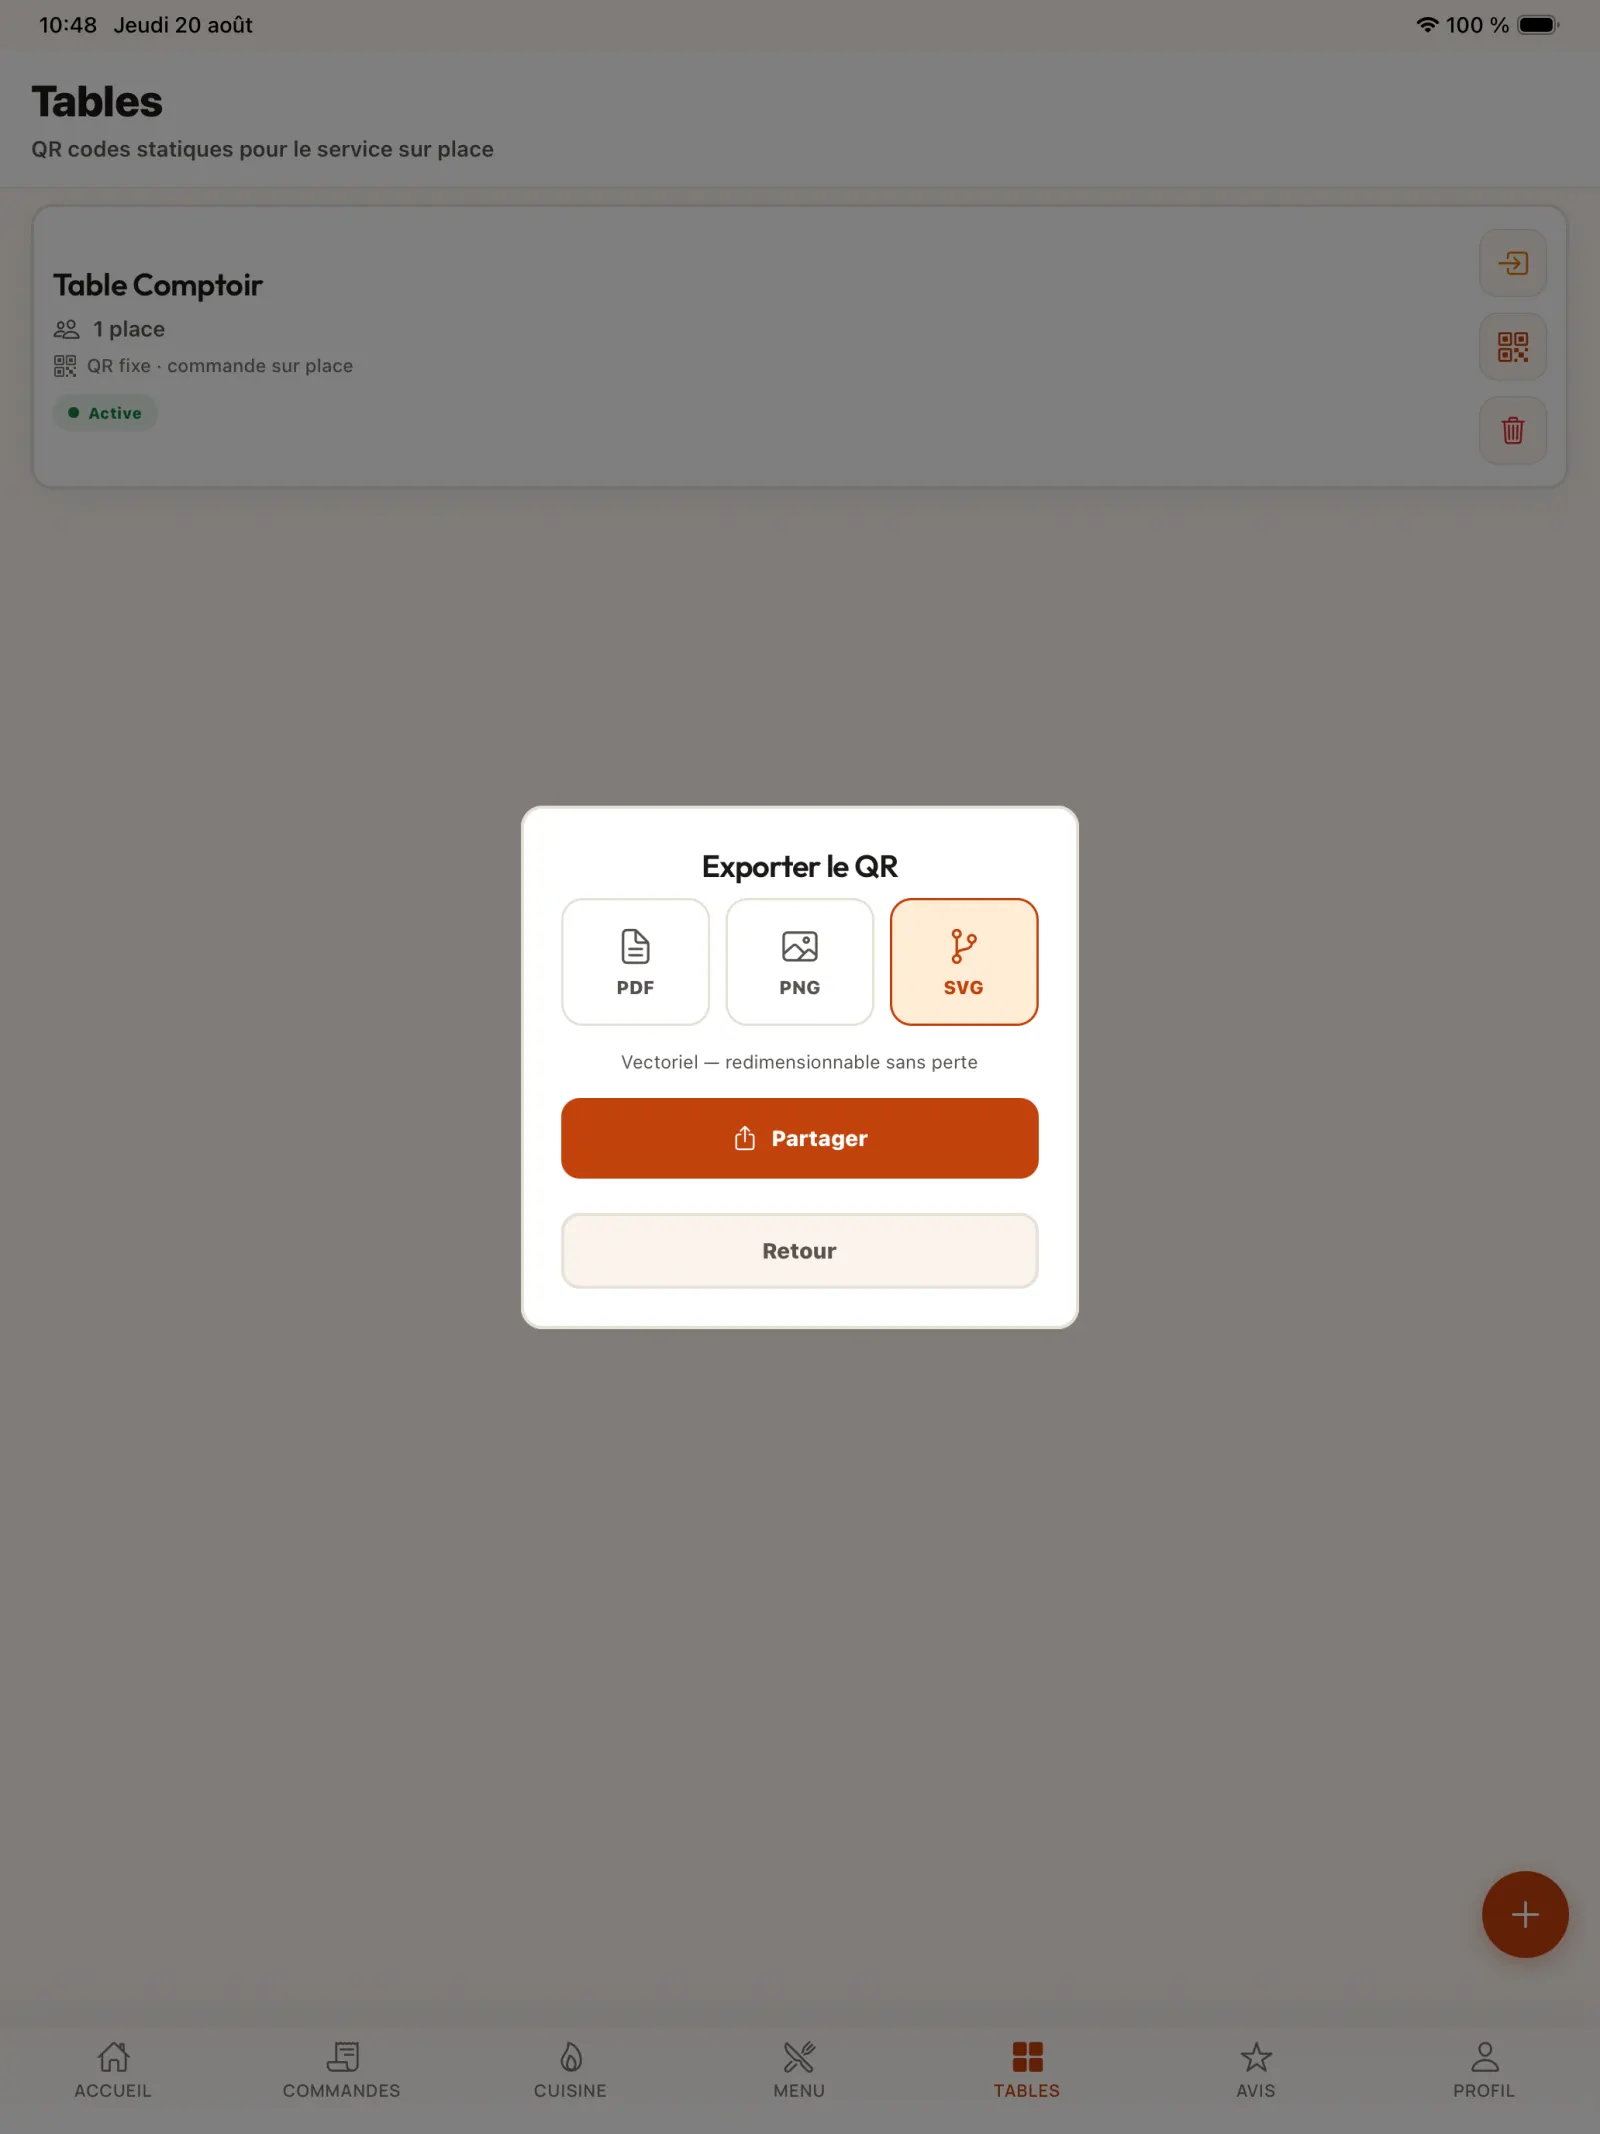
Step 6
Export as SVG
The SVG vector file remains sharp regardless of print size.
Open full-size image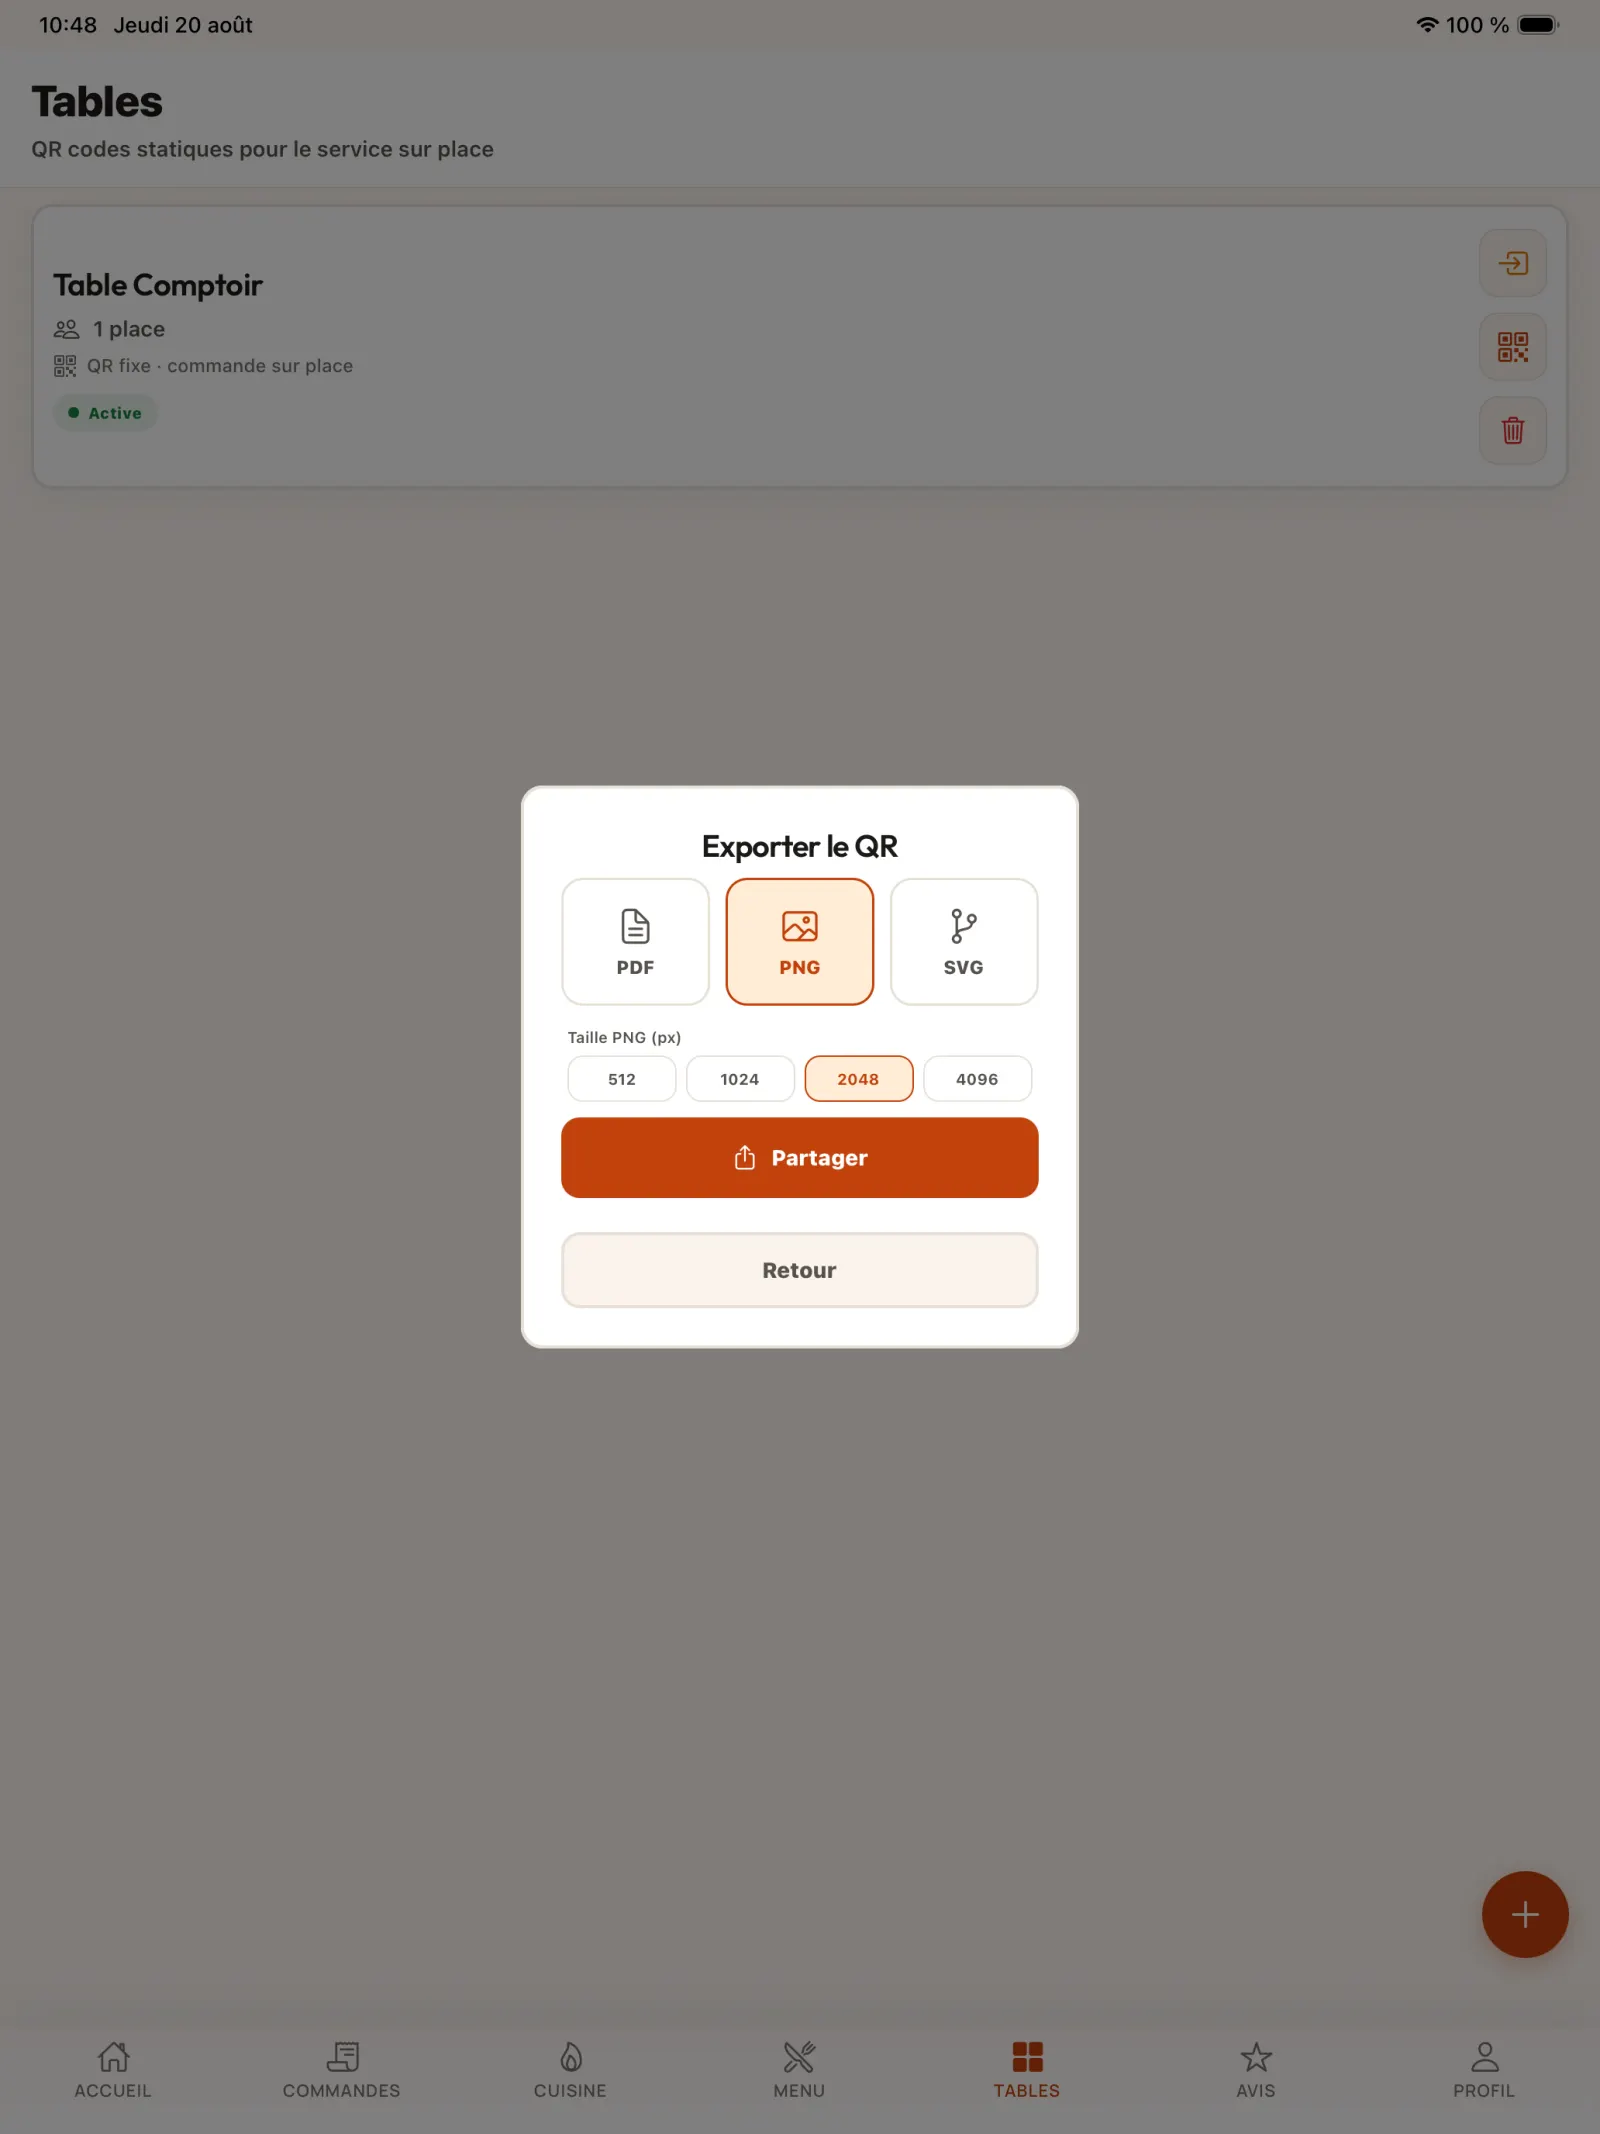
Step 7
Export as PNG
Choose the PNG resolution appropriate for digital use or the intended printed material.
Open full-size image
Chapter 3
Deploy QR codes in the dining area
The QR code opens the restaurant page and transmits the original location so that the team recognizes the table in question.
Step 8
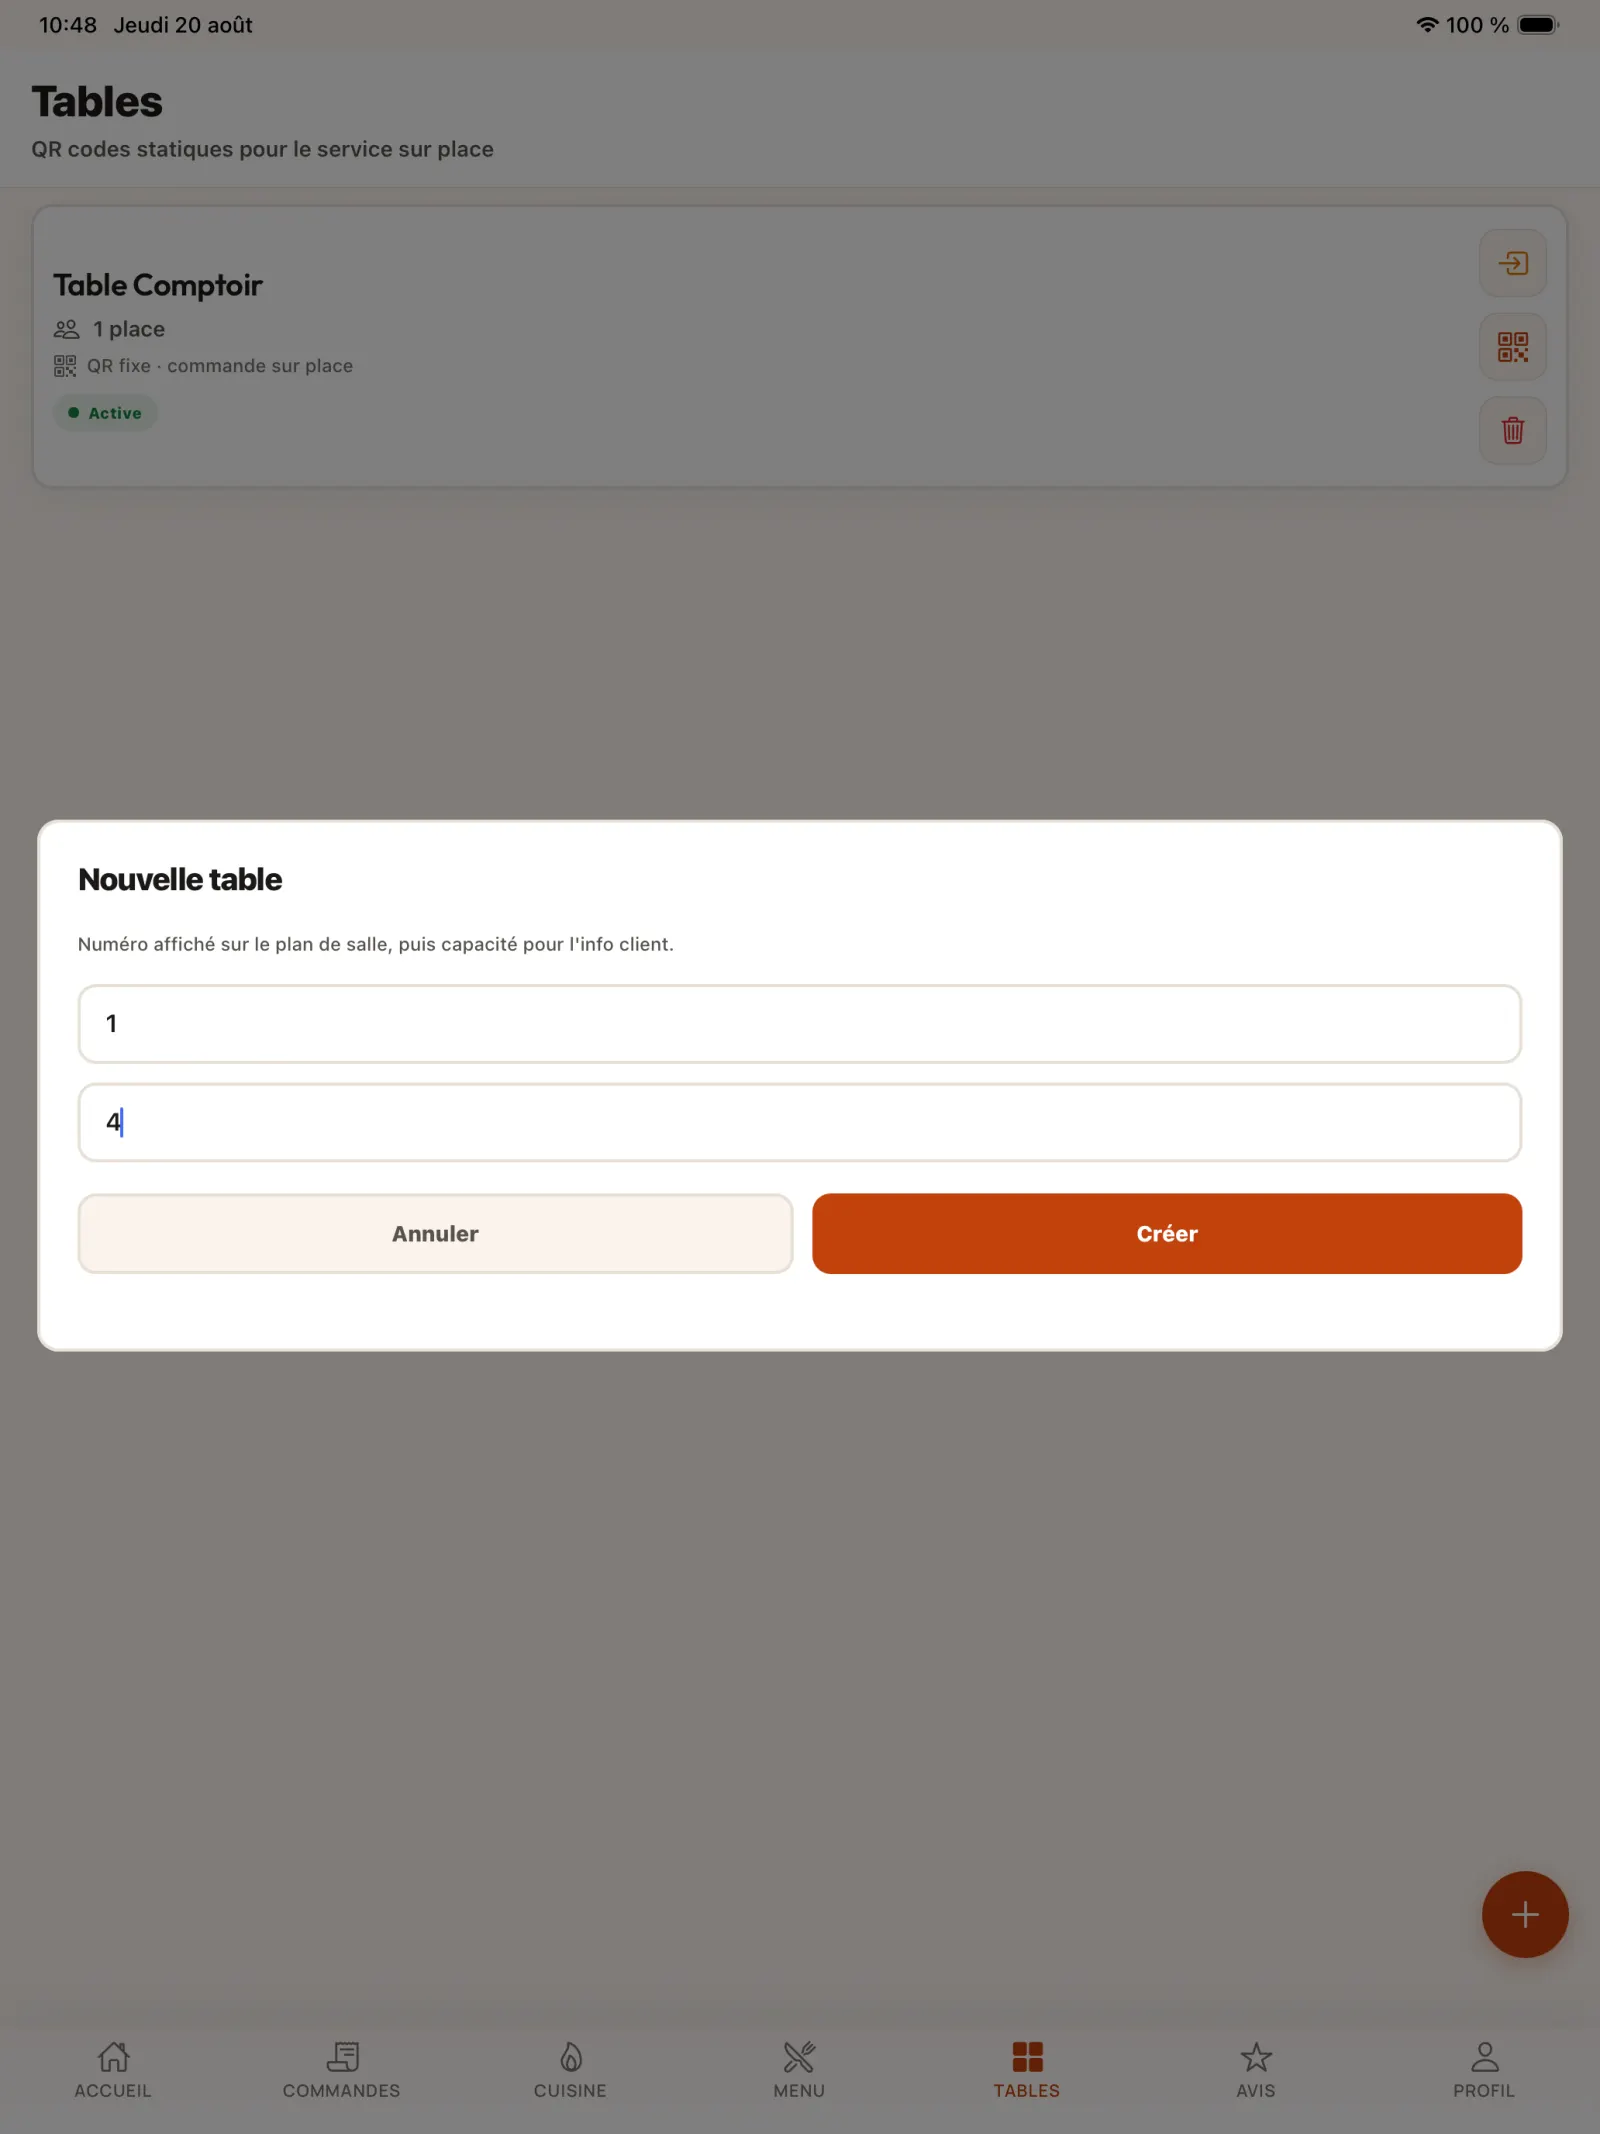
Add the dining tables
Create each table with a unique ID and capacity corresponding to the restaurant organization.
Open full-size image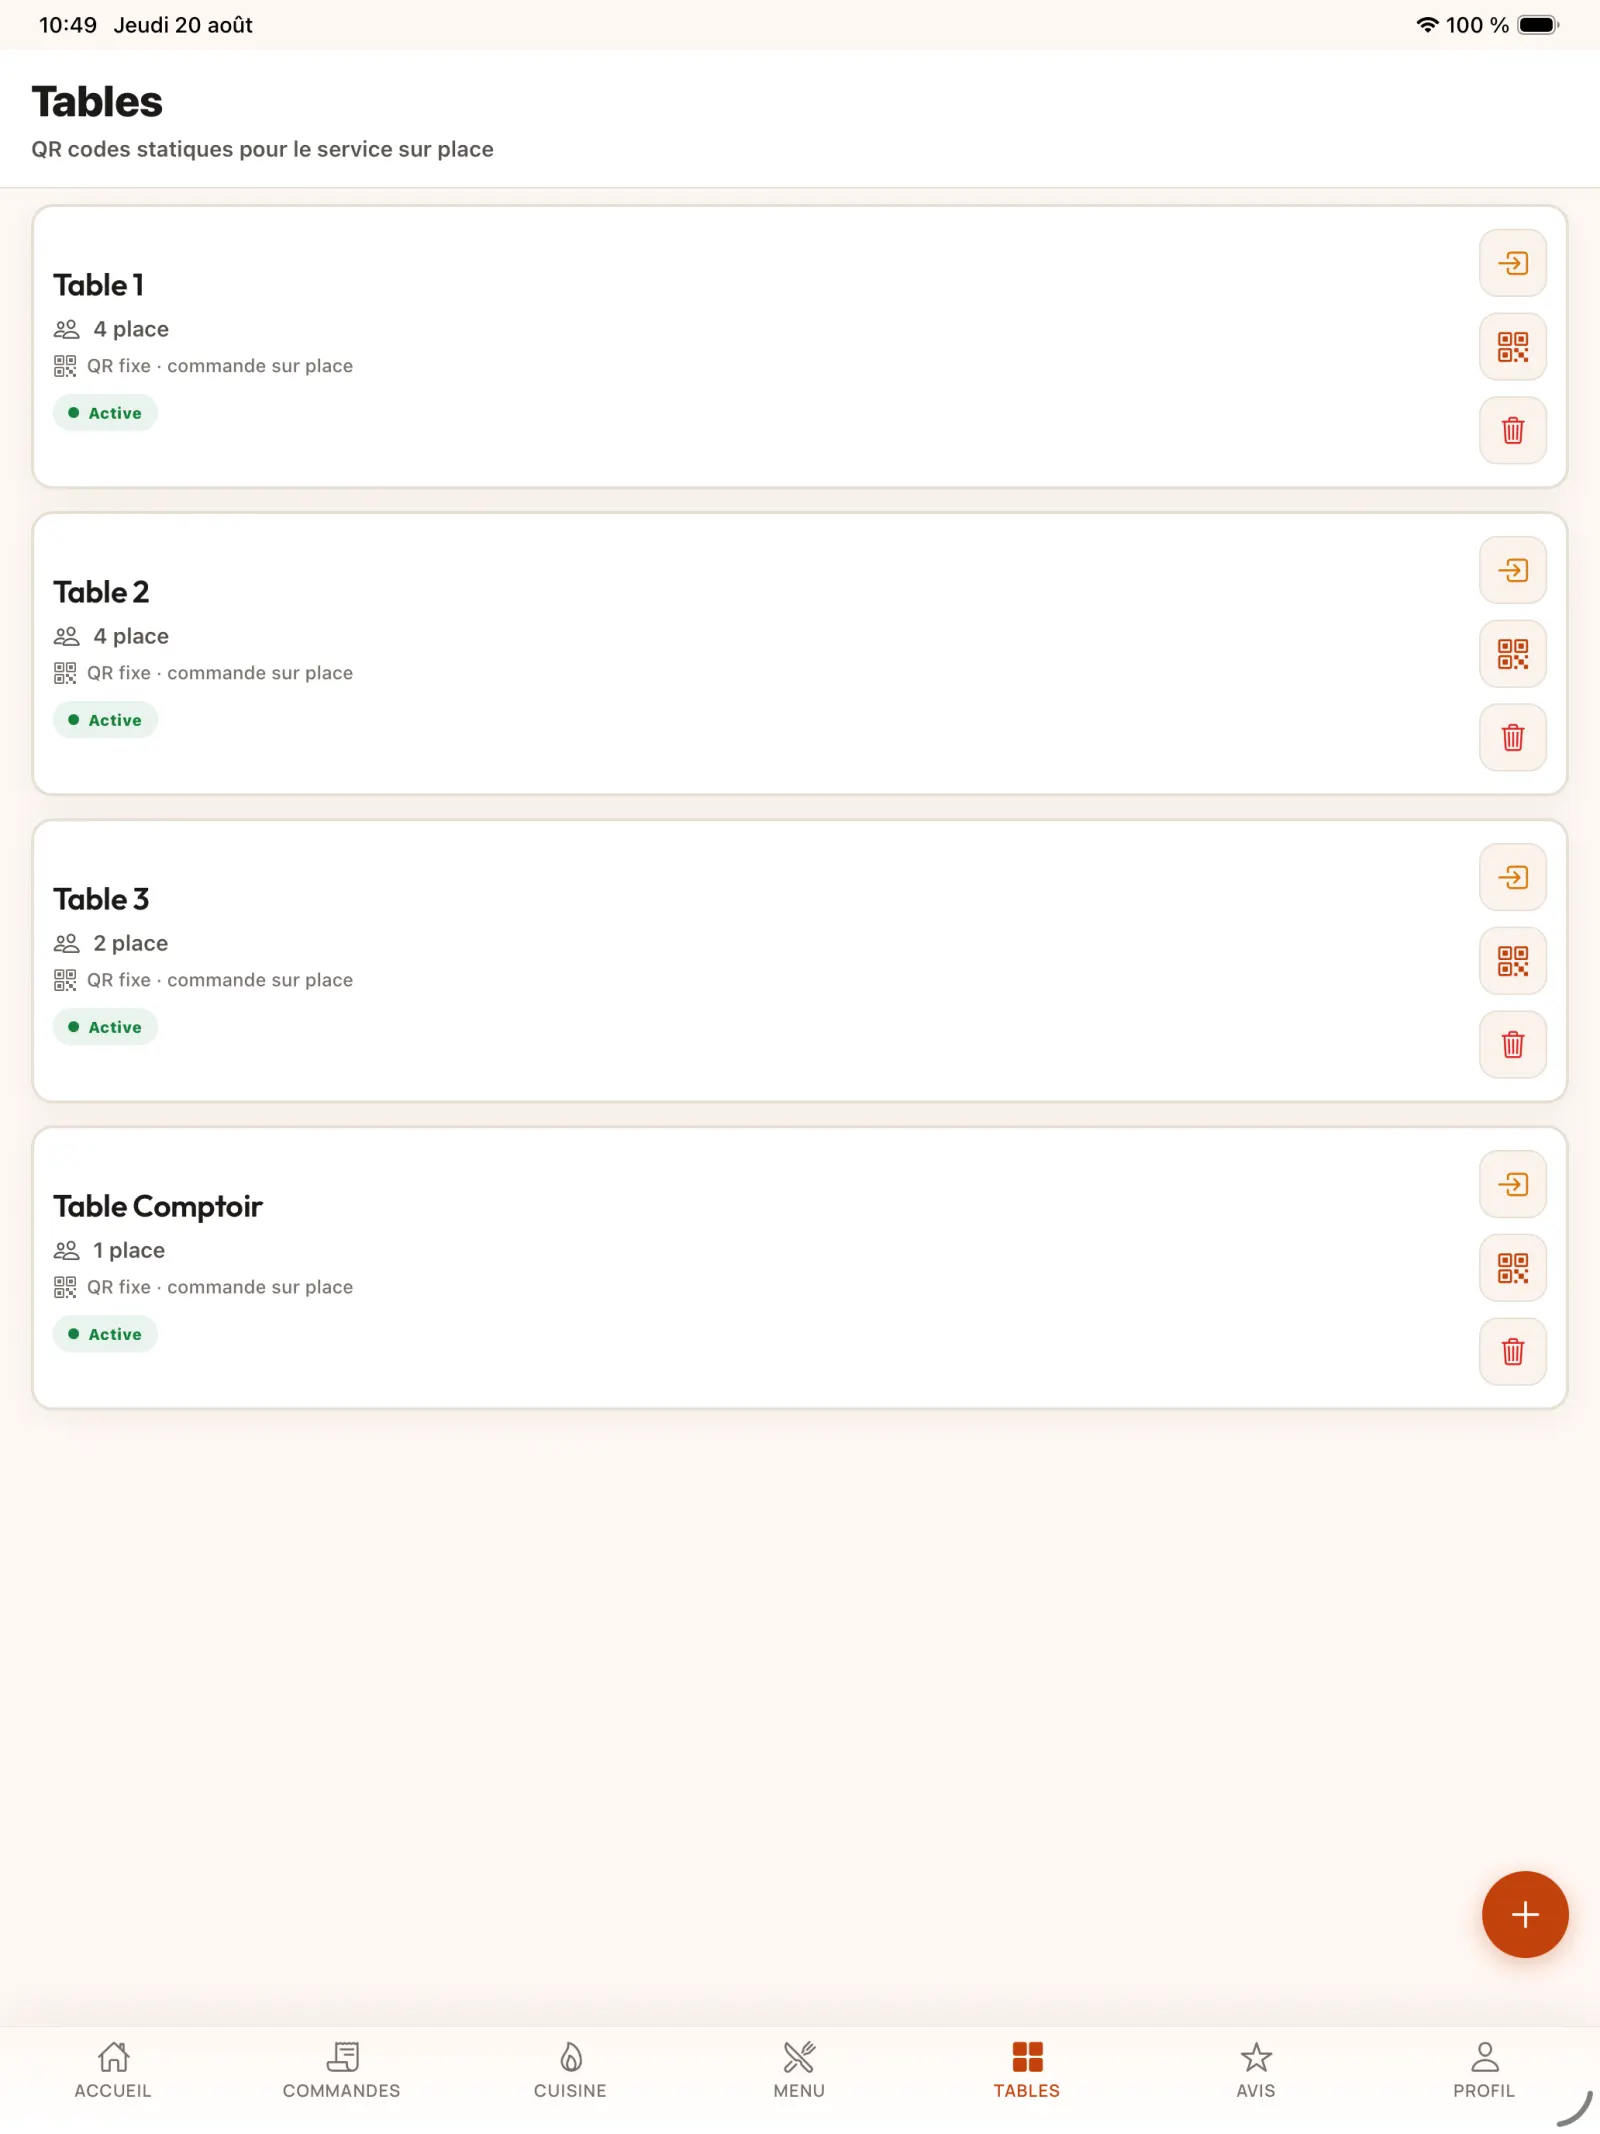
Step 9
Check the list of tables
Check that each table has its own QR code. An order started from this code will retain the table information.
In practice. The QR code opens the file in the KoulChi application when it is installed, or the restaurant web page in the browser. The original table accompanies the order: a scan carried out at table 2 allows the counter and the kitchen to directly identify this location.
Open full-size image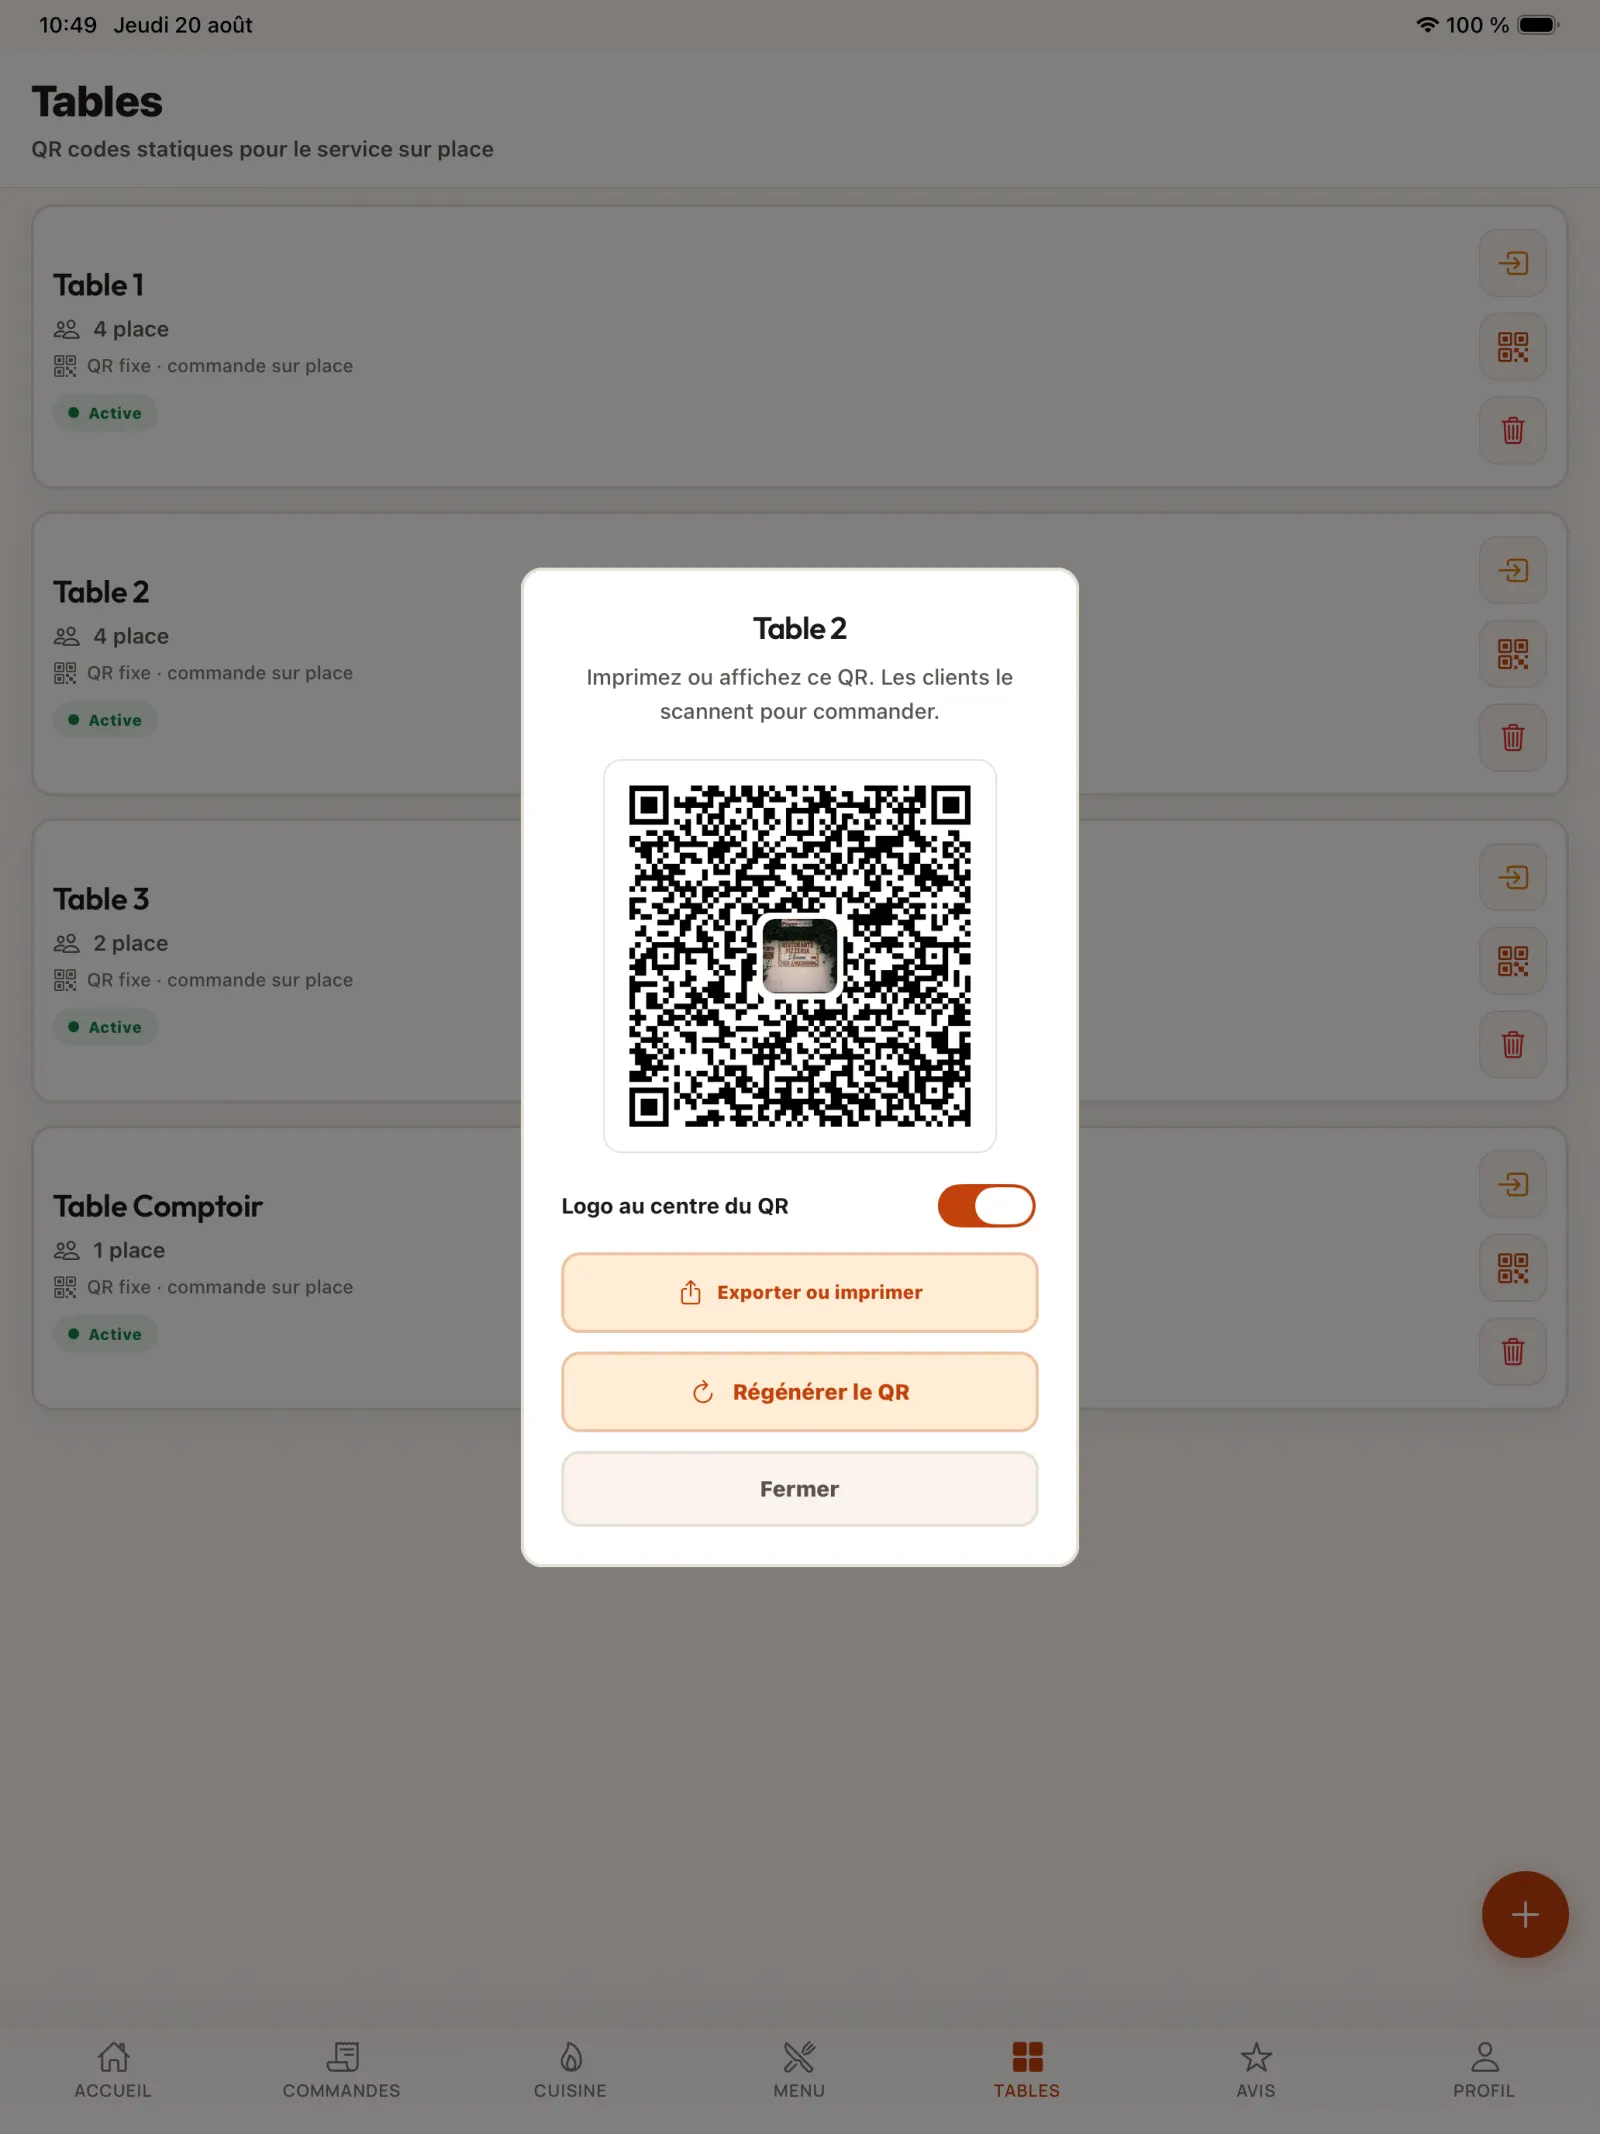
Step 10
Export each QR sign
Open the QR codes successively to prepare the supports intended for tables, counters or packaging.
Open full-size image